Manage user accounts
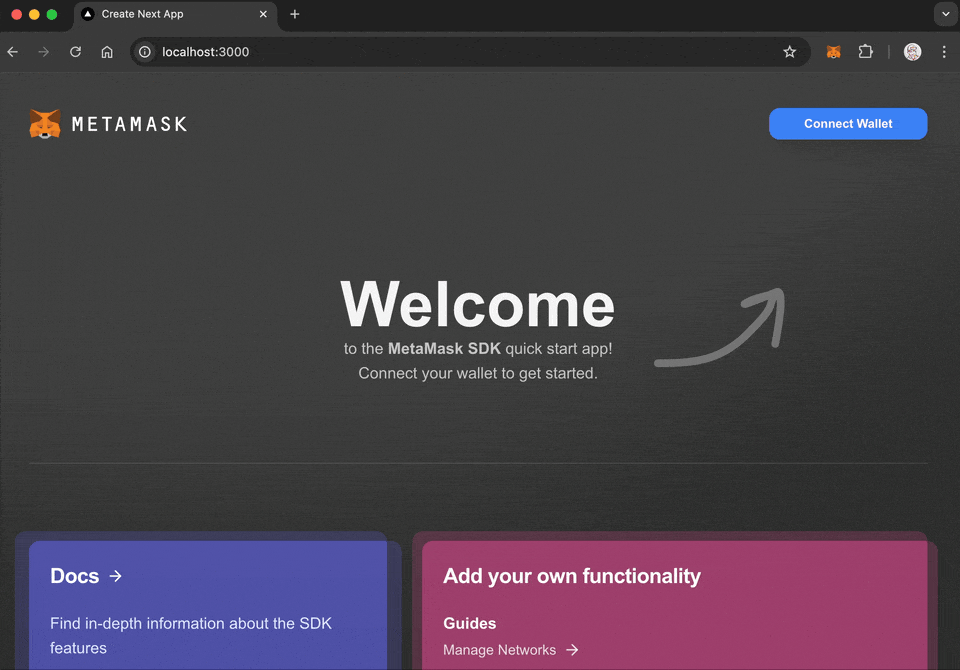
Use MetaMask Connect EVM to connect wallets, retrieve user accounts, and handle session lifecycle in Vanilla JavaScript or Wagmi dapps. MetaMask Connect EVM provides connect() for wallet access, connectAndSign() for single-step authentication, and the accountsChanged event for tracking when users switch accounts.
With MetaMask Connect EVM, you can:
- Connect users' wallets to your dapp.
- Access user accounts (addresses).
- Connect and sign in a single user interaction.
- Handle connection states (connected/disconnected).
- Listen for account changes in real time.
- Manage wallet sessions (connect/disconnect).
- Support multiple wallet types (extension, mobile app).
Connect wallet
With Vanilla JavaScript, implement user authentication directly using the
eth_requestAccounts RPC method
and accountsChanged provider event.
With Wagmi, use the provided hooks for handling wallet connections.
- Vanilla JavaScript
- Wagmi
import { createEVMClient } from '@metamask/connect-evm'

const evmClient = await createEVMClient({
  dapp: {
    name: 'MetaMask Connect EVM Example',
    url: window.location.href,
    iconUrl: 'https://mydapp.com/icon.png', // Optional
  },
  api: {
    supportedNetworks: {
      '0x1': 'https://mainnet.infura.io/v3/YOUR_INFURA_API_KEY',
      '0xaa36a7': 'https://sepolia.infura.io/v3/YOUR_INFURA_API_KEY',
    },
  },
})
const provider = evmClient.getProvider()

// Connect wallet
async function connectWallet() {
  try {
    // Disable button while request is pending
    document.getElementById('connectBtn').disabled = true

    const accounts = await provider.request({
      method: 'eth_requestAccounts',
    })

    const account = accounts[0]
    console.log('Connected:', account)

    // Update UI
    document.getElementById('status').textContent = `Connected: ${account}`
    document.getElementById('connectBtn').style.display = 'none'
    document.getElementById('disconnectBtn').style.display = 'block'
  } catch (err) {
    if (err.code === 4001) {
      console.log('User rejected connection')
    } else {
      console.error(err)
    }
  } finally {
    document.getElementById('connectBtn').disabled = false
  }
}

// Disconnect wallet
async function disconnectWallet() {
  try {
    await evmClient.disconnect()
  } catch (err) {
    console.error('Error with disconnecting:', err)
  }
}

// Handle account changes
provider.on('accountsChanged', accounts => {
  if (accounts.length === 0) {
    // User disconnected
    document.getElementById('status').textContent = 'Not connected'
    document.getElementById('connectBtn').style.display = 'block'
    document.getElementById('disconnectBtn').style.display = 'none'
  } else {
    // Account changed
    document.getElementById('status').textContent = `Connected: ${accounts[0]}`
  }
})
Display connect and disconnect buttons in HTML:
<div>
  <div id="status">Not connected</div>
  <button id="connectBtn" onclick="connectWallet()">Connect MetaMask</button>
  <button id="disconnectBtn" style="display: none" onclick="disconnectWallet()">Disconnect</button>
</div>
import { useAccount, useConnect, useDisconnect } from 'wagmi'

function ConnectWallet() {
  const { address, isConnected } = useAccount()
  const { connectors, connect, isPending } = useConnect()
  const { disconnect } = useDisconnect()

  if (isConnected) {
    return (
      <div>
        <div>Connected to {address}</div>
        <button onClick={() => disconnect()}>Disconnect</button>
      </div>
    )
  }

  return (
    <div>
      {connectors.map(connector => (
        <button key={connector.uid} onClick={() => connect({ connector })} disabled={isPending}>
          {isPending ? 'Connecting...' : `Connect ${connector.name}`}
        </button>
      ))}
    </div>
  )
}
Wagmi provides a dedicated hook for handling account lifecycle events:
import { useAccountEffect } from 'wagmi'

function WatchAccount() {
  useAccountEffect({
    onConnect(data) {
      console.log('Connected!', {
        address: data.address,
        chainId: data.chainId,
        isReconnected: data.isReconnected,
      })
    },
    onDisconnect() {
      console.log('Disconnected!')
    },
  })

  return <div>Watching for account changes...</div>
}
Connect and sign
Use MetaMask Connect EVM's connectAndSign method to request wallet access and sign a message in a single user interaction.
For example:
import { createEVMClient } from '@metamask/connect-evm'

const evmClient = await createEVMClient({
  dapp: {
    name: 'MetaMask Connect EVM Example',
    url: window.location.href,
    iconUrl: 'https://mydapp.com/icon.png', // Optional
  },
  api: {
    supportedNetworks: {
      '0x1': 'https://mainnet.infura.io/v3/YOUR_INFURA_API_KEY',
      '0xaa36a7': 'https://sepolia.infura.io/v3/YOUR_INFURA_API_KEY',
    },
  },
})

async function handleConnectAndSign() {
  try {
    const signature = await evmClient.connectAndSign({ message: 'Hello in one go!' })
    console.log('Signature:', signature)
  } catch (err) {
    console.error('Error with connectAndSign:', err)
  }
}

document.getElementById('connectSignBtn').addEventListener('click', handleConnectAndSign)
The following HTML displays a Connect & Sign button:
<button id="connectSignBtn">Connect & Sign</button>
This one-step flow is unique to MetaMask Connect EVM's connectAndSign method.
It's not part of Wagmi or other wallet libraries.
Best practices
Follow these best practices when authenticating users.
User interaction
- Only trigger connection requests in response to user actions (like selecting a button).
- Never auto-connect on page load.
- Provide clear feedback during connection states.
Error handling
- Handle common errors like user rejection (code
4001). - Provide clear error messages to users.
- Fall back gracefully when MetaMask is not installed.
Account changes
- Always listen for account changes.
- Update your UI when accounts change.
- Handle disconnection events.
Chain support
- Listen for network/chain changes.
- Verify the current chain meets your requirements.
- Provide clear messaging when users need to switch networks.
Learn how to manage networks.
Common errors
The following table lists common authentication errors and their codes:
| Error code | Description | Solution |
|---|---|---|
4001 | User rejected request | Show a message asking the user to approve the connection. |
-32002 | Request already pending | Disable the connect button while the request is pending. |
-32603 | Internal JSON-RPC error | Check if MetaMask is properly installed. |
Next steps
See the following guides to add more functionality to your dapp: